Tutorials
Text to Embroidery: How to Turn Words into a Machine-Ready DST or PES File
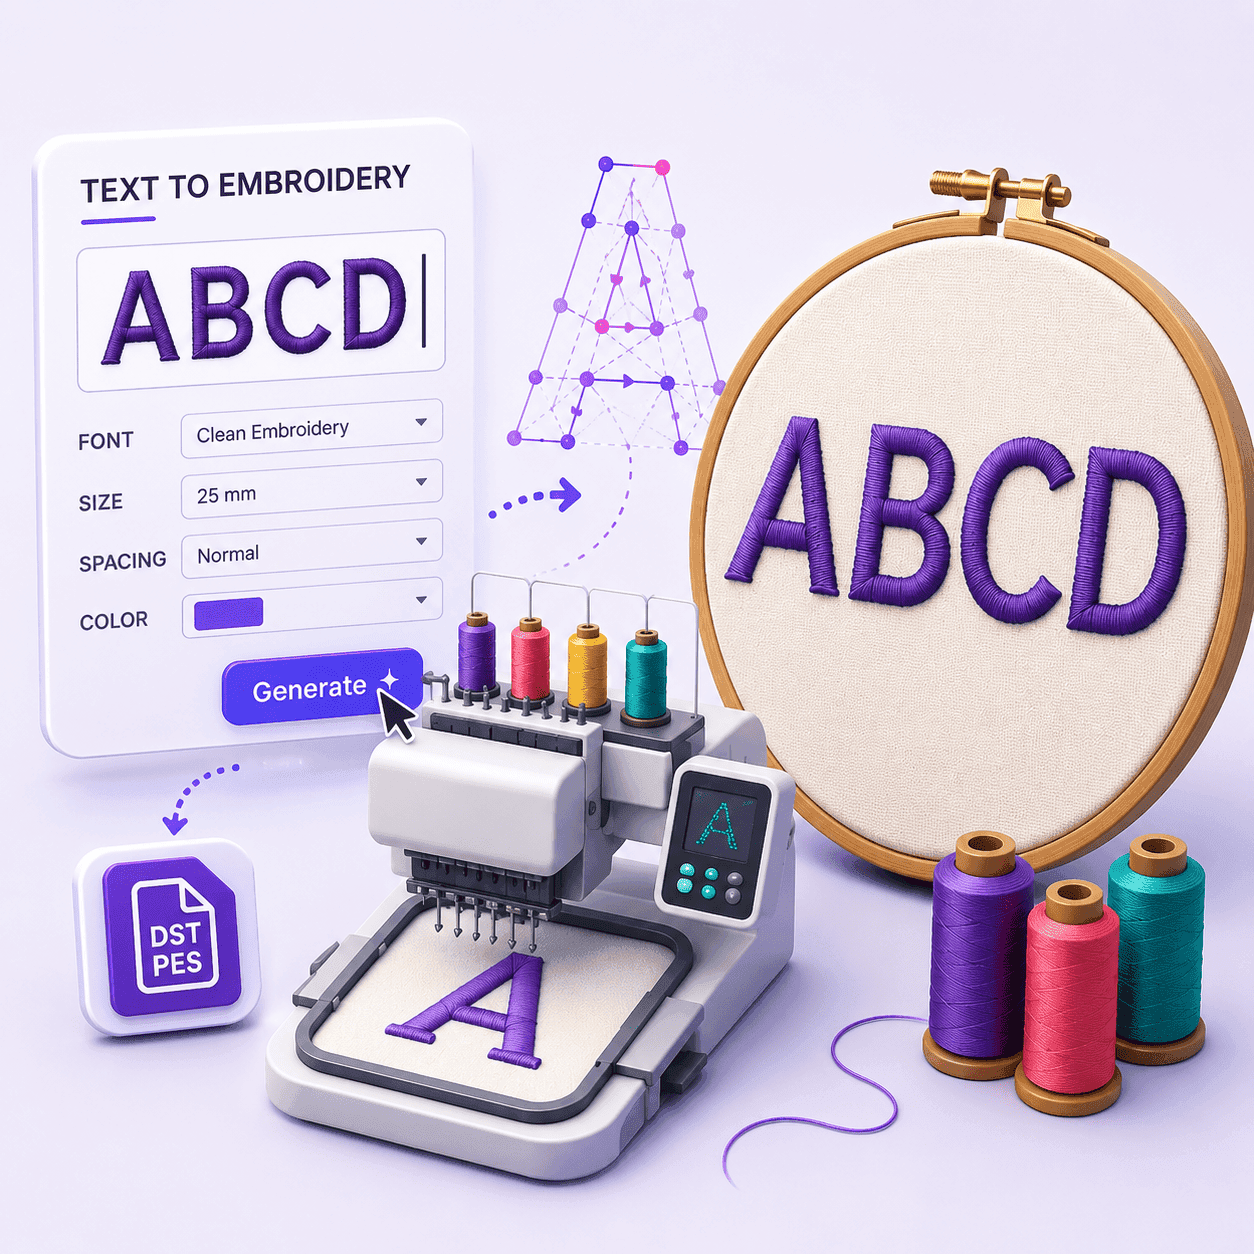
You have a name, a monogram, or a short label you want to stitch — but you don't want to learn digitizing software or pay a digitizer for a handful of letters. A text-to-embroidery generator solves exactly that: you type a word, pick a font, and it hands you a machine-ready embroidery file in seconds.
In this guide we'll cover what text to embroidery actually means, how the conversion works under the hood, a step-by-step walk through of generating your first file, when to download DST versus PES, and practical tips for getting clean, readable lettering on the machine.
What Is Text to Embroidery?
Text to embroidery is the process of turning ordinary typed words into a machine-ready embroidery file your sewing machine can stitch onto fabric. An embroidery machine can't read a JPG, a PNG, or a system font like Arial — it needs a stitch file that tells the needle exactly where to go, when to jump, and when to trim.
A text-to-embroidery tool bridges that gap. Instead of hand-tracing every letter or opening heavyweight digitizing software, you pick a purpose-built embroidery font, type your text, and the tool converts each character into a sequence of stitches automatically. The output is a compact DST or PES file containing the exact stitch coordinates, jumps, and trims the machine follows.
How Text-to-Embroidery Conversion Works
It helps to understand what's happening behind the scenes so you can set expectations for the result.
1. Embroidery fonts, not computer fonts
A regular computer font describes the outlineof each letter. An embroidery font is different: each glyph has already been digitized into stitches at a fixed physical size (commonly 1, 2, or 3 inches tall). That's why a good text-to-embroidery tool ships with its own embroidery fonts rather than letting you use any system typeface — the stitch quality depends on letters that were digitized properly.
2. Tracing each letter into a running stitch
For each character you type, the generator lays down an evenly spaced single-color running stitch that follows the letter's path. A running stitch is the simplest and most dependable stitch type for small text: it produces sharp, legible letters without the thread build-up, puckering, or registration problems that heavier fills can introduce at small sizes.
3. Assembling the layout
The tool then positions the letters side by side, applying your chosen letter spacing and word spacing, and calculates the overall width, height, and stitch count. Finally it exports everything into the embroidery file format you pick.
How to Convert Text to Embroidery: Step by Step
Here's the full workflow using the free EmbroidAI text-to-embroidery generator. The whole thing takes under a minute.
Step 1: Choose a font and type your text
Open the tool, pick an embroidery font from the list, and type your word, name, or set of initials. Letters, numbers, and common punctuation are all supported, so you can stitch monograms, team names, cap labels, or short captions.
Step 2: Adjust the spacing
Set the letter spacing and word spacingin millimeters. Because each font is already sized at a fixed physical height, there's no separate scale slider to fuss with — you control how tightly or loosely the text sits, and the letters stay at their intended stitching height.
Step 3: Preview and pick a format
Check the true-to-thread preview along with the stitch count and exact dimensions. This is where you catch sizing or spacing issues before you waste thread and stabilizer. When it looks right, choose your download format — DST or PES.
Step 4: Download and stitch
Download the file, load it onto your machine via USB, card, or cable, hoop your fabric with the right stabilizer, and stitch. Your typed text is now embroidery.
Try the text-to-embroidery generator free
Type a word, pick a font, and download a DST or PES lettering file in seconds — no login, no watermark.
Advertisement
Should You Download DST or PES?
The tool exports both of the most widely used machine formats. Which one you pick comes down to your machine.
Choose DST when
- You run a commercial or multi-needle machine (Tajima, Barudan, SWF, Ricoma)
- You want the broadest possible compatibility
- You send files to different machines or shops
- You're not sure what your machine reads — DST is the safe default
Choose PES when
- You stitch on a Brother or Babylock machine
- You want the file in Brother/Babylock's native format
- You're a hobbyist or small shop on home hardware
Not sure which is which? Our full breakdown of DST vs PES explains exactly what each format stores and which machines read them. Since lettering is a single color, the color differences between the formats matter less here than raw machine compatibility.
What You Can Make with Text to Embroidery
Lettering is one of the most common embroidery jobs, and a text-to-embroidery generator covers the vast majority of it:
- Names on towels, robes, and uniforms
- Initials and monograms on bags, hats, and jackets
- Team names and numbers on caps and sportswear
- Labels on aprons, tool rolls, and workwear
- Short captions or dates on patches and gifts
Because everything happens in the browser in milliseconds, you can experiment with different words, fonts, and spacing for free — then download the finished file the moment it looks right.
Tips for Clean, Readable Lettering
A running-stitch letter is only as good as the setup behind it. A few practical pointers:
Pick a large enough font
Very small text is hard for a running stitch to form cleanly. When in doubt, choose a larger font size — bigger letters give sharper, more legible results and are far more forgiving on textured fabric.
Use the right stabilizer
Lightweight or stretchy fabric needs a cut-away or tear-away stabilizer behind it. With proper backing and correct hooping, the lettering sits flat without distortion or puckering.
Mind your hoop size
Long words in a large font can exceed a small hoop. If the preview shows the text is wider than your hoop, reduce the letter and word spacing, choose a smaller font, shorten the text, or split a long phrase across two designs and stitch them in sequence.
Preview before you sew
Always review the stitch count and size in the preview first. For a closer look at any file — or to inspect a design someone sends you — you can open it in the free EmbroidAI DST viewer or PES viewer to check stitches, size, and color before it reaches the machine.
What Text to Embroidery Can't Do (Yet)
It's worth being clear about the boundaries. A text-to-embroidery generator produces a single-color running-stitch outline of your letters. It does not create thick satin columns, filled lettering, or multi-color artwork. For bold, filled letters or full logo digitizing with richer stitch types, you'll want to digitize artwork properly — EmbroidAI can help there too, turning uploaded images into full designs with a range of stitch types.
For quick, clean lettering, though, running-stitch text is exactly the right tool — fast, free, and reliable on almost any machine.
Frequently Asked Questions
A text-to-embroidery generator is a tool that converts typed words into a machine-ready embroidery file. You choose an embroidery font, type your text, and each letter is turned into a sequence of stitches — usually a single-color running stitch — that an embroidery machine can sew. You then download the result as a DST or PES file and load it onto your machine.
Open the EmbroidAI text-to-embroidery generator in your browser, pick a font, type your word or name, adjust the letter and word spacing, and preview the design. When it looks right, download it as a DST or PES file. It runs entirely in the browser with no login, no watermark, and no software to install.
Both. You can download the generated lettering as a DST file (the universal commercial format) or a PES file (the native format for Brother and Babylock machines). Choose whichever your machine reads. If you're unsure, DST is the safest choice because almost every embroidery machine supports it.
It produces a single-color running stitch that traces the outline of each letter. A running stitch is the most reliable stitch type for small text because it forms clean, readable letters without the thread build-up or puckering that heavier satin or fill stitches can cause at small sizes.
Each embroidery font is built at a fixed physical height, so the letter size is set by the font you choose rather than a separate scale control. You shape the layout with two settings — letter spacing and word spacing, both in millimeters — to space the text exactly how you want it before you stitch.
Yes. Type any short word, name, set of initials, or monogram and the generator turns it into stitches. It's ideal for personalizing towels, bags, caps, uniforms, aprons, and gifts with quick, clean lettering — no digitizing experience required.
If your machine reads DST or PES — which covers Brother, Babylock, Tajima, Janome, Bernina, Pfaff, Ricoma, SWF, and nearly every other brand — the file will load and stitch. Simply download the format your machine expects.
Conclusion
Text to embroidery takes one of the most common embroidery tasks — stitching a name, monogram, or label — and makes it instant and free. You type a word, pick an embroidery font, tune the spacing, and download a machine-ready running-stitch design as a DST or PES file, with no digitizing skills or desktop software required.
Ready to try it? Open the text-to-embroidery generator, type your first word, and download the file — you'll have machine-ready lettering in under a minute.